Tuesday 24 January 2012

MW4 Hunchback

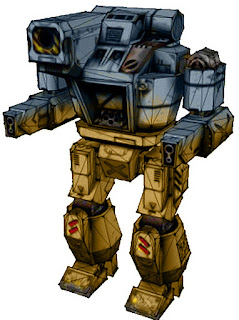
This mech was my first dip into resin casting. I always loved the MW4 Hunchback redesign plucky little robot with a BFG. I have fond memories of Palace gates as part of a Heavy Gauss rifle Hunchie tag team

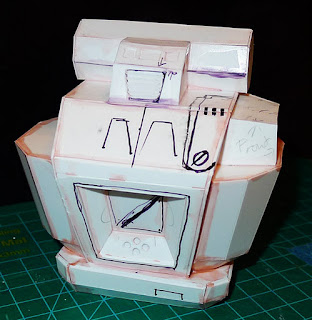
Based from Blaars papercraft plans I set upon mock up the paint scheme I saw in another picutre.


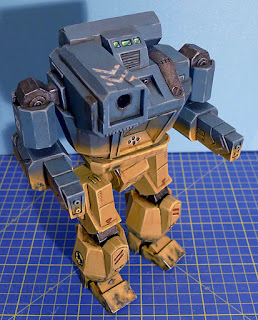
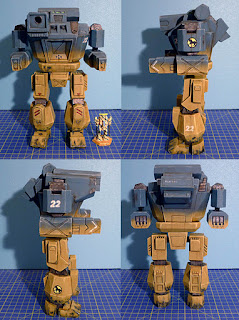
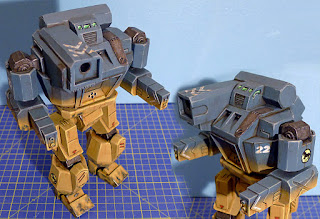
I nick named this scheme Desert ridge line. I think MW4 had a similar camo skin. I went in to far more care and detail with this model as i was planning to take moulds of the whole Mech and casting it in resin. This also ment i had to think about how each part would be cast. Paying particular attention to surface details and how far to assemble parts.


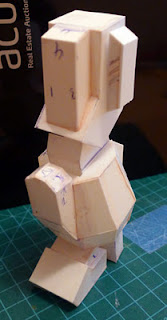
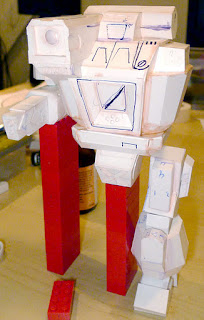
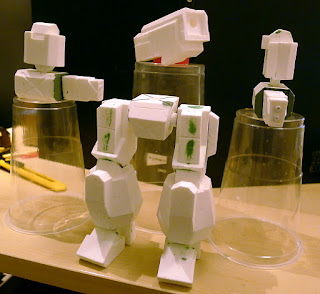
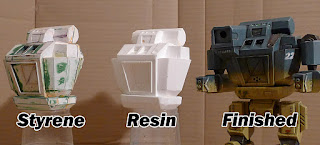
Here the Styrene master loosely put together to make sure everything matches. The pen marks are notes to myself on details, surface joints etc (all those white squares are easy to muddle!) It took me about 1 month to get to this stage.

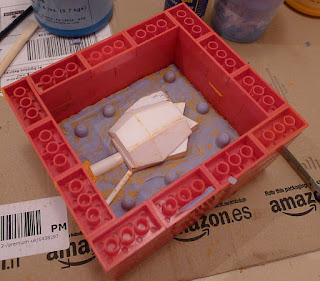
Now the fun process of mould making can begin. There's no doubt this stage is super fun but also quite messy so I don't have that many photos.


I used the smooth on starter kit, Lego and plasticine (play doe) to make the moulds. (Casting such a large model drinks pints and pints of silicone about 6kgs in this case!). There's a good 8 part video guide on youtube which I followed;


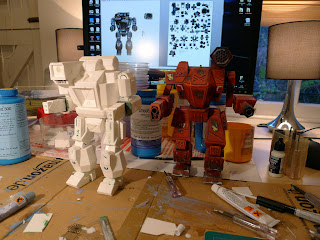
Once the moulds are done you ready to pop out mechs like cookies! This has to be the best stage to reach you finally get to see your work go from boxlike substructures to stompy stompy mech like goodness. It took 2months to get to this point and now you can cast a whole Mech in under 1hr bang tidy!


You'll note the use of green stuff modelling putty. This is needs to fill cast lines, gaps and bubbles that appear in the resin casting process if you don't have access to the pressure casting equipment. You'll also notice I'm in the process of adding extra details using styrene, wire etc I decided to add these after casting because i wasn't 100% sure how sharp they would come out. On to painting


Painting is where I feel most experienced in model making. I love how well the paint scheme came out, I like my mechs solid colours and weathered (you can see the improvement from the Armorcast atlas painted 10years earlier which I used car spray paint eek!). I chose Eridani Light Horse decals for no other reason than they complimented this paint job.

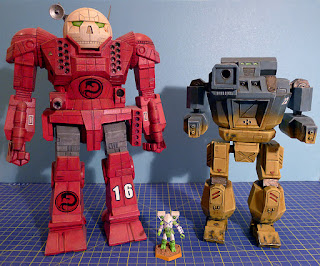
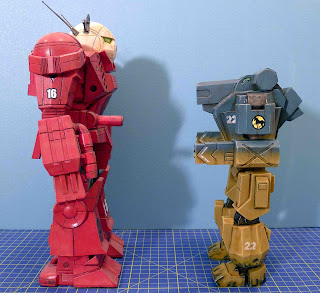
I stunned myself with how well this came together. The final height is 21cm around 1/43 scale and weighs in at 750g. Knowing that you can cast parts really focuses ones mind on getting the details right and removes those headaches of building free hand symmetrical objects like legs.


Here's a nice image of the steps of production.

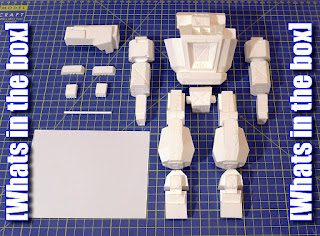
I have also cast another Hunchback from my left over resin (resin doesn't keep once opened) thats going on eBay so you too can enjoy owning and painting your very own large scale Mechwarrior 4 Hunchback. Everything you see here (bar my craft mat, cheeky monkeys) is included;


My next project will be a Osiris more on that next time.

A Thor is born

The Summoner or Thor to all you free-births has always held a spot in my imagination since Nicolai Malthus first uttered the words 'enhanced imaging enabled'


There wasn't a MW4 Thor for download on MW3.org so i chose the MC2 version and ninjad the PPC arm off the MW4 Madcat, made my own feet, AC arm and Missile rack;


Heres some photos


It was a fun project and a good introduction to scratch building. Styrene + plastic weld is so nice to work with you end up with a really strong model however I would recommend .75mm or .5mm styrene 1mm is a chore to work. Painting feels very easy to paint on this scale too compared to 25mm.

In hind sight I'd use .75mm thickness sheets and would of used a Stanley knife from the start (craft knifes I had all broke!). Bought a finer detail airbrush and not used light coloured weathering powders.

Anyone wanting to have a go themselves I'd say jump in! And here’s a list of what you'd need

The build;
Styrene Sheets 1mm, .75mm and .5mm
Styrene extrusions tubes, squares, rectangles
Plastic weld or polystyrene cement (super strong glue that chemically welds the plastic together)
Natural hair brush for the above
Metal ruler
Stanley knife (AVOID craft knifes they don’t work on styrene)
Green stuff modelling putty (for filling/smoothing joints)
Foam sanding block
Emery nail filing board (pack)
Good pair of scissors
Small hack saw
Safely glasses (you only ever get 2 eyes! Use for gluing sanding and cutting)
Dremel with burring bit and cutting edge (optional) I used mine to chop off bad sections and battle adding damage
Hobby vice (optional) save those fingers

Painting;
Games workshop undercoat
Games workshop purity seal (matt gloss)
Fine detail hobbyist air brush
Base colour acrylic (dark red in this case)
Top colour acrylic (dry brushed over darker base, red in this case)
High light colour acrylic (orange in this case)
Shadowing Ink/wash (dark brown in this case)
Black acrylic
Silver metallic acrylic
Black weathering powder (warning PITA to use!)
Assorted brushes
Foam kitchen Sponge (to chop up)
Masking tape
Clear vinyl sticker paper (for printing decals, you have to paint a white mask under them first)


Google for painting guides/tips for free
Games workshop Painting guides for newbies
Forge world Imperial Armour Model Masterclass Vol.1 for advanced painters
Patience and practice


Welcome to ReverseDisabled

With the advent of MWO my Mech gene was been switched back on. Trawling the web for mech stuff to pass the time I stumbled upon mechwarrior3.org specifically their craft forum. I remember I had built a few paper a few paper mechs (poorly) years ago and decided to have a bash at a MW4 version.

To sum up my paper skills suck. However a post from messy desk caught my eye and there began my foray (or should that be folly) into scratch build models.


I had allot of experience in GW miniatures for my squandered yoof, some experience in real world construction, and way too much time watching discovery channel. However I had never scratch build a model before.


And so I began