Sunday 28 June 2015

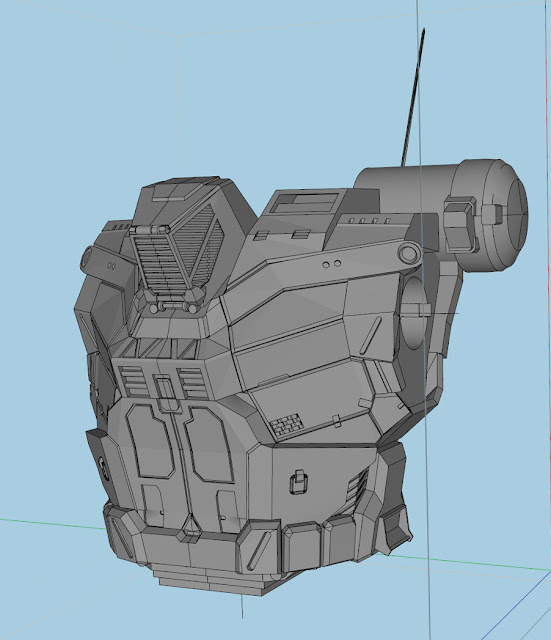
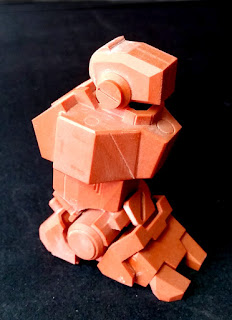
Hunchback torso drum - 3D torso design

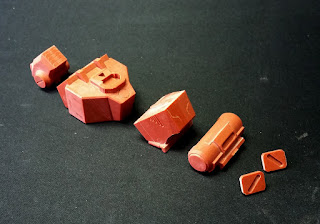
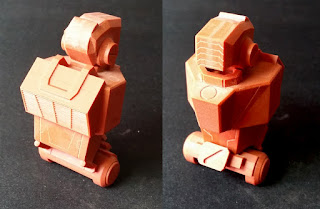
I machined out the rear torso drum first half of this week mainly to make use of the mill while i designed the torso and wrote the CNC code.

2 part machined

A little disappointed I the cylinder has facets it wasn't obvious in the 3D model I guess because its such a big cyclider (3cm dia) even with 100sides it shows 'flats'. Any who I'll give it a quick buff with 400 paper to smooth it down.

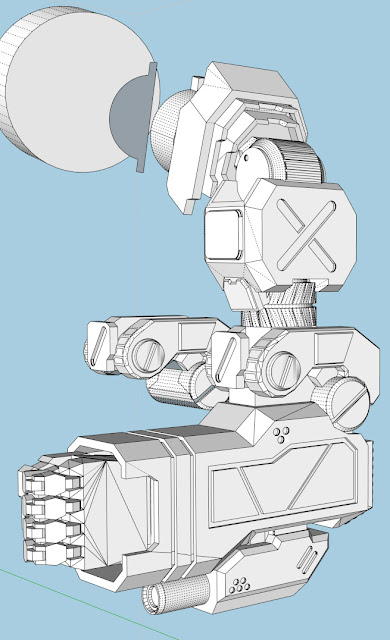
Next the task of working out the gun and torso joint. And I can tell you it was a tricky mess to sort out it took 3 days of reworking to finally get something that could be swapped as a single gun yet still retain strength in both the guns bridge and the shoulder joint in the torso all of which wanted the same space.

Open chest surgery


As you can see a huge bite is taken out of the torso for the gun and how the shoulder joint prevents any simple solutions.


And here with have the Support structure clean cut along the AC20 line with any under cuts removed and added to the gun its self to allow the gun to slip over the torso. (those holes are locations for magnets)


And how the AC20/torso are divided


On to machining the torso is taking 30hrs to rough front of the torso alone! yikess so I decided to start that while I write the rest of the code for finishing


Making sections in such big parts is tricky (and stressful for me) the challenges of over looking something go up 10 fold as your at the maximum dimensions the mill and milling bit can do leaving bingo margin for error.

Monday 22 June 2015

HBK - Armed 'n' shexy

The arms were finished this Saturday. I gave myself Sunday off to play MWO and take a breath before delving into the torso/hunch.

(Usual caveats things are dusty, snapped with my camera phone as I work. Everything gets a stiff brush and a sonic clean before casting)


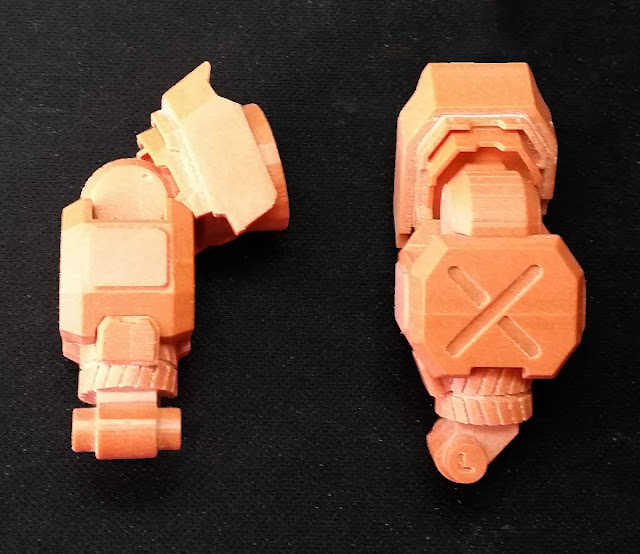
Range of extension of the first elbow (second is locked until the tab is removed)
New vs Old. - My old attempted at hand making the HBK from scratch this was early MWO before mechlab screen shots were working so it was made from memory.
 
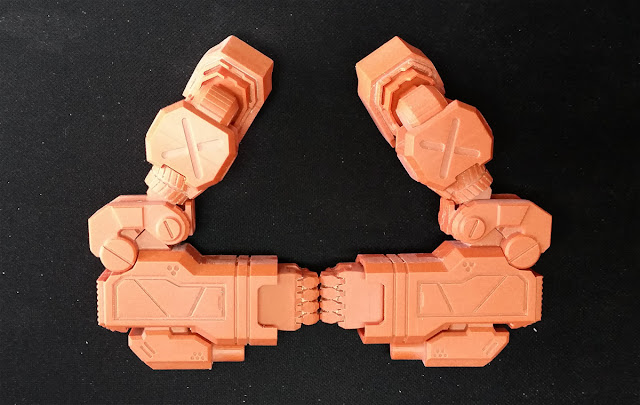
Fist bump - milestone complete
Now I'm at the hardest stage of the design and build the torso is a large piece with many details to add along an awkwardly undulating shaped torso. I then have to configure the torso to hunch joint I think I have it worked out except for the SRM version which looks like it wont be hot swap (ie the left SRM would be glued into place).


Progress for today is the front symmetrical details and scribing panel lines. I do all the symmetrical parts first before the asymmetric stuff. This stage often sees thing adding getting broken once you add in features to make it a workable model but there's no real way of avoiding it despite how painful it can be to redo something when your realise it has to make way for something else.

Friday 19 June 2015

Fore armed - MWO hunchback progress

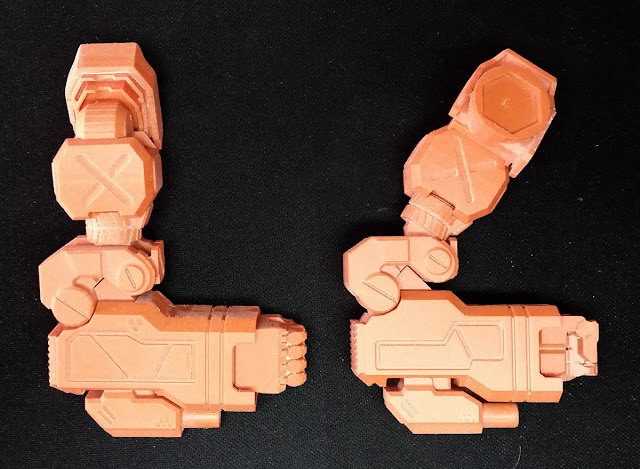
Forearms are all machined so here some gratuitous pictures, unglued (except the forearm body) as for they will be cast as separate pieces.


Now you're wondering why is the the forearm sanded so rough well sprue has been filed down but my putty has gone off so I had to order more I want to run a fine bead along the joint before finial buffing to get a seamless join.

The forearm and elbows themselves feature holes for magnets (3x1mm) pre drilled if you want to remove the locking tab allowing for double articulation but still have something to hold it closed position.

The upper arms are machining atm with just the upper elbow joint and the shoulder pad left.


Tuesday 16 June 2015

Hips, Arm update and casting frustrations

So the bad is, I'm having casting frustrations. I broke a rule which I learnt the hard way a few years ago when you find a good supplier of RTV and Resin don't change. But I was persuaded to try another brand and no bueno. Long story short the RTV was 'ok' and the resin was pants. The RTV was kind of hard means the mould lines want to spring apart :/ and the resin didn't set leaving a sticky mess in the moulds for me to clean out. Which means a whole wasted weekend of frustration (just take 3days and tear those up >.<). I bought some resin from my normal supplier but the shin moulds are both duff and I will need to make them again. I'd hope to show you full lower body assembly with my hip post but to do that I need a left and right shin and 2 feet.

I'm pushing for time as it is and frankly I'll just have to table making new moulds of the shins till i feel i have some clear air between 3d Jobs/CNC programming/family/real job/Household work.

So here's the hips (I did want to make a video of the articulation between them and the thighs I just don't have the time)


The above is just loosely assembled/pre clean up (I just didn't wish to overlook taking photos)

Now on to lower arms Detailed, jointed, divided up and spruced for CNC

Inside the elbows

Elbows, Fists, Guns, Forearms.
The forearms machining right now quite a long run at 30hrs+ hopefully done by tomorrow mid day.

The other question I've posed myself is does one need to make the PPC variant guns? I mean I know everyone will say yes but its already getting 3 humps, no stock version seems to have PPCs and the extra time to mill the PPCs could be spent getting on with the rest of the model. Its a choice  prioritizing time.

Sunday 14 June 2015

Elbows; Would sir like two or four with his hunch?

I've caught up with machining all the 3D parts I had prepared. While the 3D model has been made solid and the major joints to the torso have been done, I still need to work out how the Hunch joins to the rest of the model (so far it proving a major headache if I want to make it 'hot swapable') and allow space for the shoulder to still rotate (in the game it clips). Plus all the details at are lacking in the model but are in the texture.

But for now I'm going to let that percolate while I get on with the arms since everything in the arms are mirrored it's a two for one win but also means long runs on the MDX40a so knocking them out is a priority.

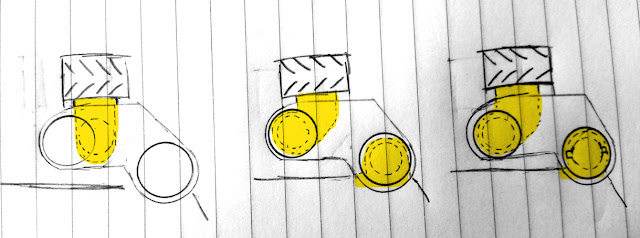
With that I've finally arrive at the tile of my post (for some semi rhetorical brainstorming). So the HBK elbows are very slick dog leg design that allows for a stubby arm but still lots of reach (kudos to Alex/Flyingdebris)


I can offer some insight of the design consideration process that happens for most parts. This comes down to a heart vs head choice vs compromise;


  • My head says stick with a simple single balanced joint because of the limitations of resin. Resin is a soft material that wears easily and prone to snap. Getting the joint to articulate in 2 positions is a novelty but keeping that joint tight isn't going to last long. Doing it might result (over time) in dangling arms. The down side of the single joint is restriction in range of movement. Space is tight and probably only allows for a few degrees of movement that would translate to about 6 or 8mm traverse at the hand which with the shoulder rotation is passable.
  • My heart says make it at a doglegged because its a nice detail. It would be very simple to design and would make it much easier to machine since the forearm wouldn't have to be a clam shell. I could use magnets to lock the arm into couched position and still allow it to flex. This is all great for me since I only display my models and I'm careful when handling them.
  • The third option is to make the joint but with a tab on the rear joint that locks the elbow to the forearm in the couched position and should be glued. But for those that want too it can be removed to allow free movement. This has the befit of both worlds but would be weaker than option 2 snapping from heavy handling or inattentive assembly are the risks.
 

I'd probably go option one if it was just me but, I have to consider how others might treat the model (say in an office environment) and their ability to repair should it break. Option 3 seems most logical choice.


And here's the detailed arm with various aids for modelling attached
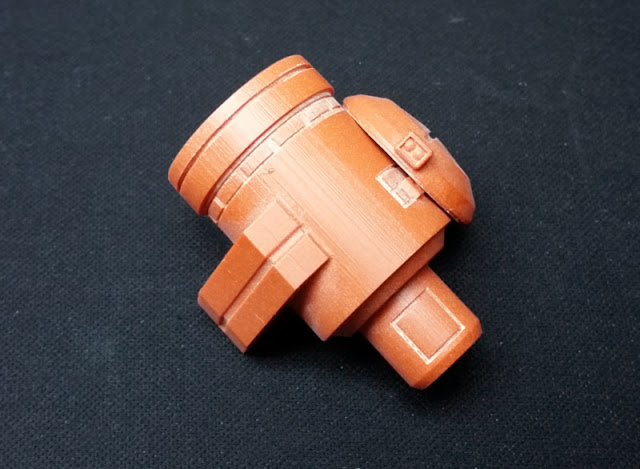
  • the cylinder represents the arc the shoulder rotates through (the hunches will have to at least this much clearance)
  • The thingy in front of the cylinder is used as reference in rotating the arm when looking from inside the torso so I can see if there's any collision
  • Spare elbow for trying out different variations.
 Anyway enough time spent yakking to you lot time for some more eblow grease!

Thursday 11 June 2015

Busy busy Thighs done

Longest run on the mill yet at 28hrs for the main section below


Kinda got carried away and forgot to take photos of the thighs apart so only assembled pictures;


and some sexy leg;

The last part of the hip is being milled now and what has been made so far has been poured into moulds today. And I hope to mould the left version of the shin and hip in a day or two giving me a complete lower section of the HBK. Since I was making moulds today I also made some for these too

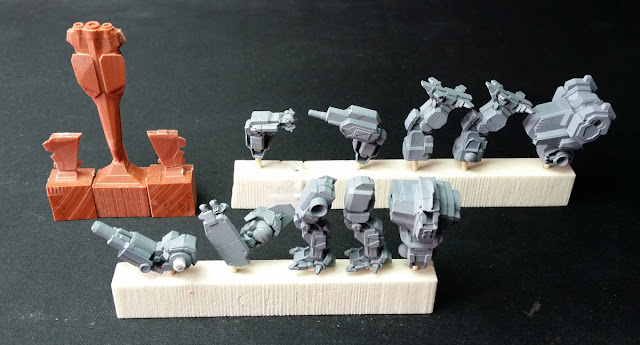
Left Lighting aero (CNC'd), Right Drgn (3D printed), Centre Centurion (3D printed)

I've been dying to get the minis done they were made months ago with 3D ultra frost detail but as you can see surface is kinda meh oh well they are just for fun. The Lighting on the other has was made on the CNC silky smooth in comparison.

Friday 5 June 2015

MWO HBK Shin

Motoring along finished the shin 2days ago just finding the time today to write it up.


There are two buckles one left one right to be swapped over during moulding process.


Complete shin assembly with all the lovely details. Really digging the rear vent (can't wait to paint it all crusty) and the ribs on the knee. You might wonder why I cut out so much of the cylinder in the ankle its too allow for articulation and you find you can really see it once its together with the foot.


Foot and Shin together and below you can see a video of the articulation all my models get. I discovered articulation is important early on it allows to to get more natural slack poses that the 'stick up the butt' look you often find from straight 3D files. Those with enough patience could probably make a balanced running pose (for me with 2 kids I like the 'at ease' stance is my favourite due to its stability and quite ominousness)


enjoy